
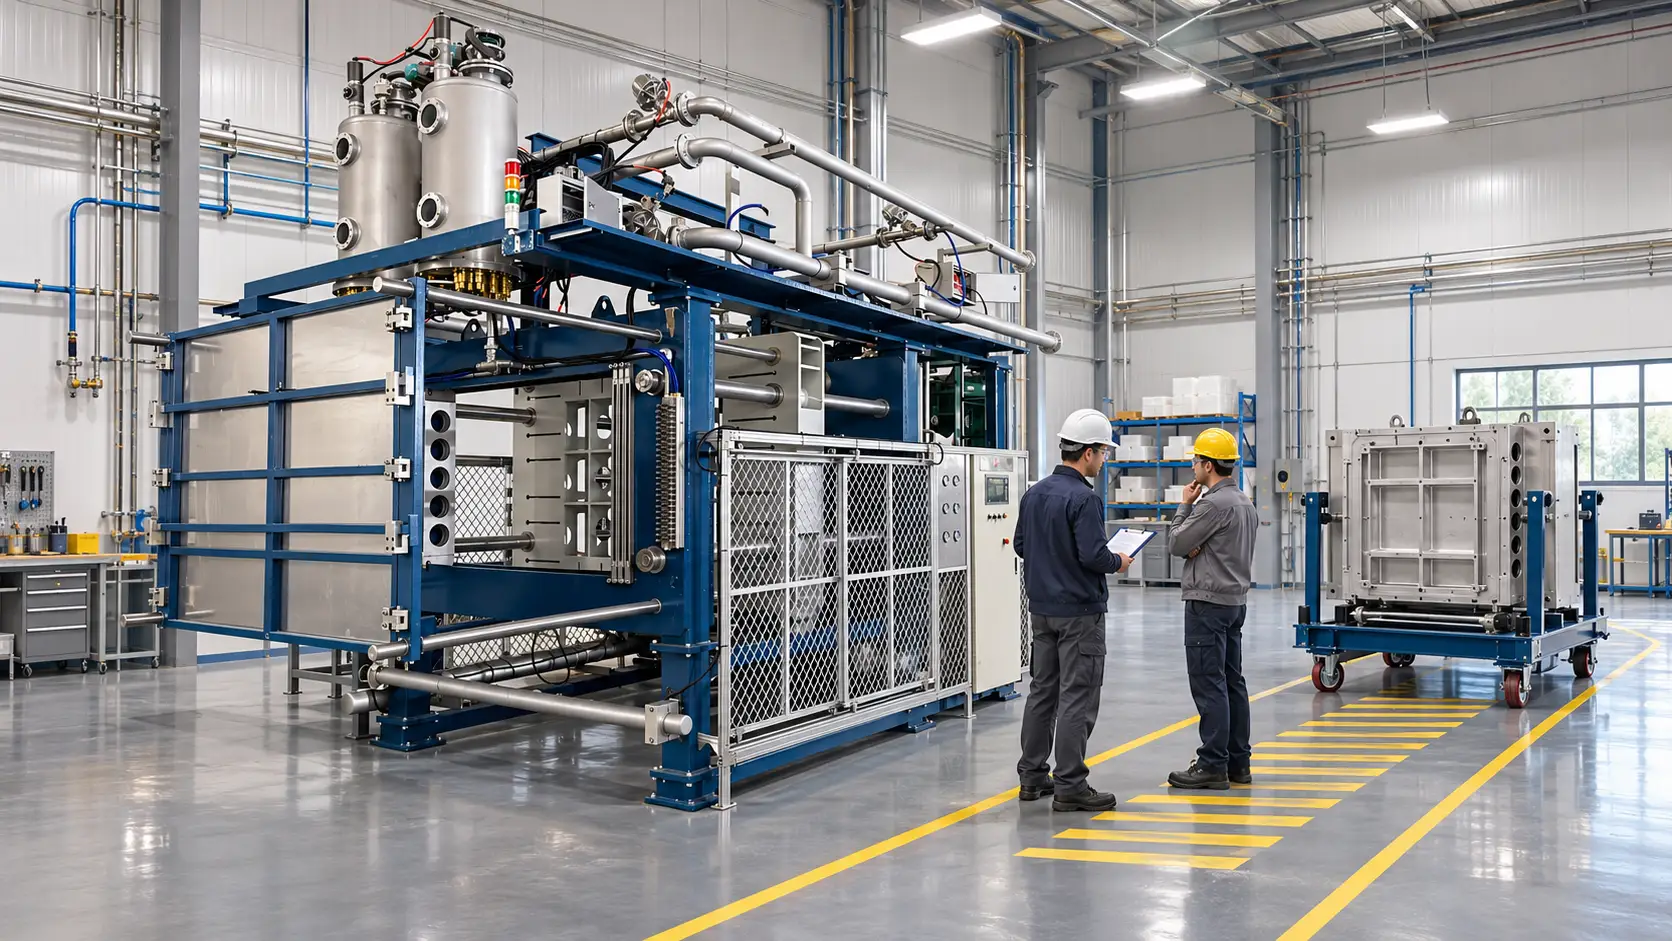
An effective EPS mold changeover begins before the machine stops. Stage the next mold, tools, connection plan, approved recipe, handling equipment, and inspection standard. The change ends only after the first acceptable pattern is approved.
That definition matters because a quick mold change system cannot create value by shortening mechanical transfer alone. Foundries must control the entire interval from the last accepted pattern on the outgoing mold to the first accepted pattern on the incoming mold. A documented checklist makes that interval safer, repeatable, and measurable enough to support a payback decision.
Define the Changeover Clock Before Improving It
Use one start and one stop point for every trial. Start the clock when the last accepted pattern from the current run leaves the machine. Stop it when the first pattern from the new mold passes the plant’s defined acceptance checks.
Break the total into observable steps:
- Pre-staging and documentation
- Machine shutdown and energy isolation
- Utility draining or pressure release
- Mold disconnection and unlocking
- Transfer of the outgoing and incoming molds
- Positioning, locking, and reconnection
- Recipe verification and controlled startup
- First-article inspection and approval
Work completed while the machine is producing is external work; work requiring a stop is internal work. First move preparation—finding hardware, checking the mold, loading the recipe, and gathering tools—outside the stopped interval. Consider automation after this discipline is stable.
Pre-Change Checklist: Prepare While Production Continues
Confirm the mold identity against the production order and pattern specification. Check the incoming mold against the machine’s mold-face envelope, opening distance, stroke, handling arrangement, and connection layout. Verify mold mass and handling limits from applicable specifications.
Complete these actions in a designated staging area:
- Inspect for contamination, loose hardware, blocked vents, damaged sealing surfaces, and open maintenance tags.
- Stage required gaskets, fasteners, adapters, feed connections, tools, and protective caps.
- Verify the approved recipe without overwriting the active production record.
- Review the connection map for bead feed, steam, cooling, air, vacuum, sensors, and special services.
- Confirm that the rack, rail, cart, or lifting device is aligned and rated for the task.
- Assign isolation, movement, reconnection, startup, and first-article responsibilities.
- Clear the travel path and establish the restricted work area.
Do not treat a missing component as a normal part of changeover. Record search time separately; it identifies a staging or inventory problem rather than a machine-speed problem.
On-Machine EPS Mold Changeover Checklist
The exact sequence must follow the machine manual, mold design, site risk assessment, and applicable procedures. Use this framework to develop the site standard.
- End the run under controlled conditions.Record the final accepted pattern, active recipe, cycle status, and change start time.
- Isolate hazardous energy.Apply the authorized procedure for electrical, hydraulic, pneumatic, mechanical, thermal, and stored-pressure hazards. OSHA’s control-of-hazardous-energy guidanceaddresses unexpected startup and stored-energy release during servicing.
- Release process services safely.Verify the specified safe state before opening connections, especially steam, hot water, air, and vacuum circuits.
- Disconnect and identify interfaces.Follow the connection map, protect open lines, and prevent similar connections from being crossed.
- Release the mold-locking devices in sequence.Confirm that the mold is supported before any locking point is released.
- Transfer the outgoing mold.Control the load through the movement path, then secure it in the assigned location.
- Position and lock the incoming mold.Use defined stops, guides, or positioning devices. Verify locking before reconnecting services.
- Reconnect and verify.Restore specified interfaces and check routing, restraint, sealing, and identification.
- Restore the approved recipe and safeguards.Confirm mold ID, recipe revision, interlocks, guards, and personnel clearance before controlled startup.
- Run and approve the first article.Do not release full production until the pattern meets the documented acceptance criteria.
Protect First-Article Quality
A fast installation that needs repeated adjustment is not a successful changeover. The first-article check must be practical for every change and specific enough to stop a bad setup.
Depending on the specification, check filling, bead fusion, surface condition, flash, distortion, dimensions, pattern weight or density, vent marks, and identification. Compare the result with an approved drawing, master, or control plan, and record adjustments.
Keep two values: mechanical change time and last-good-to-first-good time. The difference exposes recipe, utility, venting, alignment, or inspection delays that a faster transfer device will not solve.
Build a Payback Model From Plant Data
Measure representative molds, shifts, operators, and conditions before fixing the baseline. Use a controlled trial to validate the future-state time.
Use these equations:
Annual recovered production minutes = (baseline changeover minutes − validated future-state minutes) × changes per day × operating days per year
Net annual benefit = recovered minutes × contribution margin per productive machine minute + verified labor or overtime savings − added annual maintenance, training, and support cost
Simple payback period = total installed changeover investment ÷ net annual benefit
Base contribution margin on accepted, saleable output—not theoretical cycles. Recovered time has limited value without demand or when drying, coating, assembly, casting, or finishing remains the bottleneck. Do not count labor twice as capacity and headcount savings.
For a broader capital model, the lost foam casting line ROI framework explains how labor, saleable throughput, total installed cost, and downstream constraints should be considered together.
Choose the Right Level of Changeover Automation
Start with standard work, staging, connection identification, and reliable handling. If the remaining delay is dominated by transfer, positioning, locking, or reconnection, evaluate quick-change hardware and automation.
ओसी टेक्नोलॉजी का horizontal EPS shape molding machine page describes a quick-change arrangement using guide rails, a quick-change rack, positioning devices, and feed-pipe docking. Its published reference times are approximately 20–30 minutes for the quick-change configuration and about five minutes for the one-touch option. These figures are configuration-specific, not universal guarantees; mold characteristics, interfaces, site layout, automation scope, operator readiness, and acceptance requirements must be verified for each project. For an OC Technology configuration, confirm which tasks remain manual and which mold assumptions support the reference time.
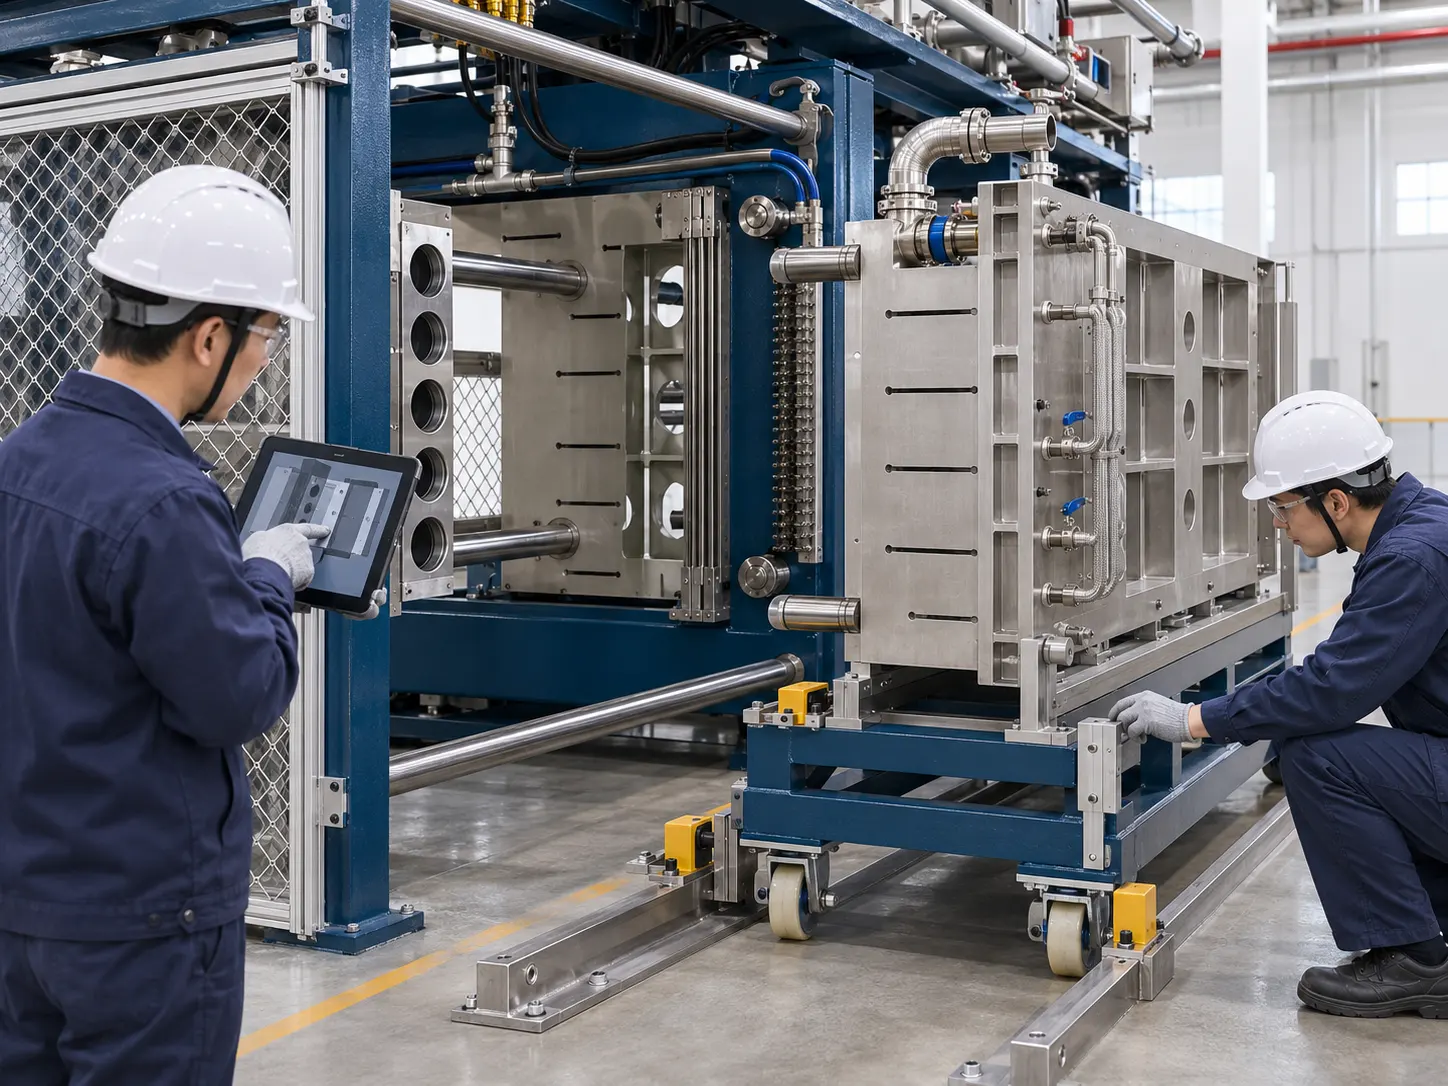
A guided manual or semi-automatic approach may suit moderate change frequency. Consider one-touch automation when product mix is high, changes are frequent, interfaces are standardized, and stopped-machine cost is documented. Choose the lowest-complexity solution that reliably meets the change window and safety controls.
What to Include in the RFQ and Acceptance Test
Give the supplier enough information to evaluate the real changeover, not just the machine opening:
- Mold drawings, dimensions, mass, center of gravity, and connection locations
- Current and forecast change frequency, product mix, and shift pattern
- A time study showing delay by step
- Machine layout, access, floor conditions, and available handling equipment
- Utility and control interfaces
- Manual versus automatic locking and connection expectations
- First-article release criteria and traceability requirements
- Installation, guarding, training, spare-parts, and maintenance scope
Define acceptance before purchase. Use a representative mold and agreed conditions. Clock last accepted pattern to first accepted pattern, identify manual actions, and record adjustments. Separate the quoted scope from the foundry’s responsibilities.
निष्कर्ष
An EPS mold changeover is a production transition, not a single mechanical action. Pre-stage external work, control hazardous energy, standardize transfer and connections, verify the first article, and measure the same start and stop points every time. This evidence shows whether procedural improvements, quick-change hardware, or one-touch automation offers a defensible return.
OC Technology can review an application using mold data, current step times, layout, utility interfaces, target change window, and automation level. Foundries can request an application review without treating a catalog time as a guaranteed result.
अक्सर पूछे जाने वाले प्रश्न
When should the EPS mold changeover clock start and stop?
Start after the last accepted pattern from the outgoing mold and stop when the first pattern from the incoming mold passes the defined release checks. This captures both mechanical setup and process stabilization.
Does a faster mold swap always increase production?
No. Recovered time creates value only when the machine can produce additional accepted patterns that the downstream process and market can absorb.
What is the difference between quick change and one-touch mold replacement?
A quick-change arrangement can still include manual positioning, locking, or connection tasks. A one-touch configuration automates more of those actions. The exact boundary depends on the supplied machine and mold interface.
What information is needed for a changeover-system quotation?
Provide mold drawings, dimensions, mass, interface locations, change frequency, current step times, machine and floor layout, utilities, first-article criteria, and the required automation scope.


 Hindi
 English
 Arabic
 Indonesian
 Japanese
 Korean
 Malay
 Portuguese
 Spanish
 Thai
 Vietnamese